
Your gaming keyboard has seen things. Snack crumbs from last night’s clutch match. A coffee spill during a ranked rage moment. Maybe even a full-on sneeze combo mid-battle.
Point is — that board might be filthy. And while we all love those RGB lights, they can’t hide the gunk forever. A dirty keyboard isn’t just gross — it can mess with your performance, your health, and your street cred (okay, maybe not the last one).
The good news? Cleaning it doesn’t need a tech degree or an entire afternoon. In this post, I’ll show you 3 dead-simple ways to clean your gaming keyboard — without breaking anything or rage-quitting halfway.
Flip, Shake & Brush 🌀
Start simple. Unplug your keyboard and flip it upside down like you’re shaking out the stress of a lost 1v1.
🔹 Step 1: Give it a few gentle shakes to loosen up crumbs, hair, and whatever mysterious debris has made its home under your keys.
🔹 Step 2: Grab a soft brush — even an old makeup or paintbrush works. Gently sweep between the keys to clear out leftover bits.
You’ll be amazed (and slightly horrified) at what comes out. Pro tip: Do this over a trash can, not your lap. Learned that one the hard way. And be gentle, you don’t want your motherboard to have a tough time.
Compressed Air = Instant Refresh 💨
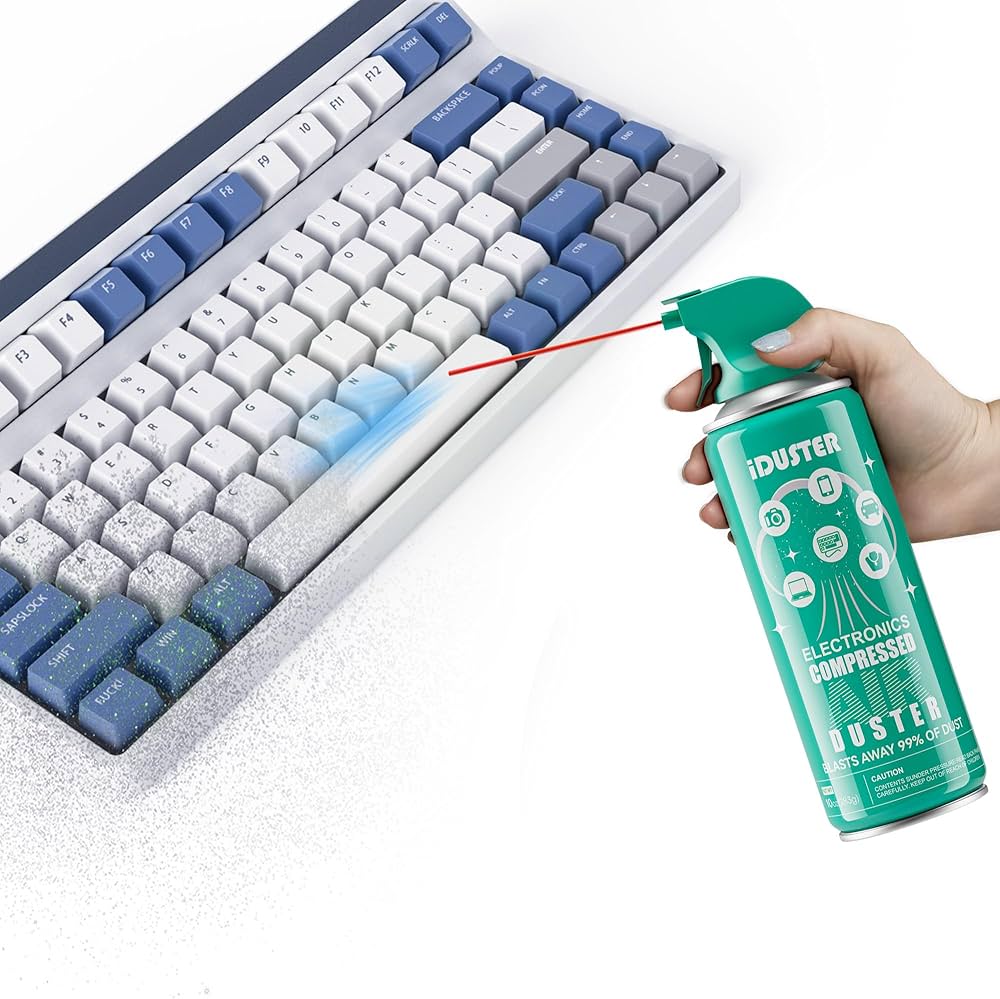
Got stubborn dust lurking between your keys? Time to bring out the big guns — compressed air.
Grab a can, tilt your keyboard slightly, and blast short, controlled bursts between the keys. Make sure to angle the nozzle so you’re not just pushing crumbs deeper into the abyss.
This method is especially clutch for mechanical keyboards, where dirt loves to hide under those tall keycaps. Bonus: It’s super satisfying to watch all the gunk fly out like it’s rage-quitting your setup.
Wipe the Keycaps 🧽
After blowing out the dust, it’s time to deal with the fingerprints, snack smudges, and that one mysterious sticky key.
Take a microfiber cloth and lightly dampen it with either water or a bit of isopropyl alcohol (nothing too wet — your keyboard isn’t into that). Gently wipe down each keycap, plus the keyboard’s surface. You’ll be surprised how much grime builds up, especially around the WASD cluster.
💡 Quick tip: Always squeeze out excess liquid before wiping — moisture and electronics don’t mix well.
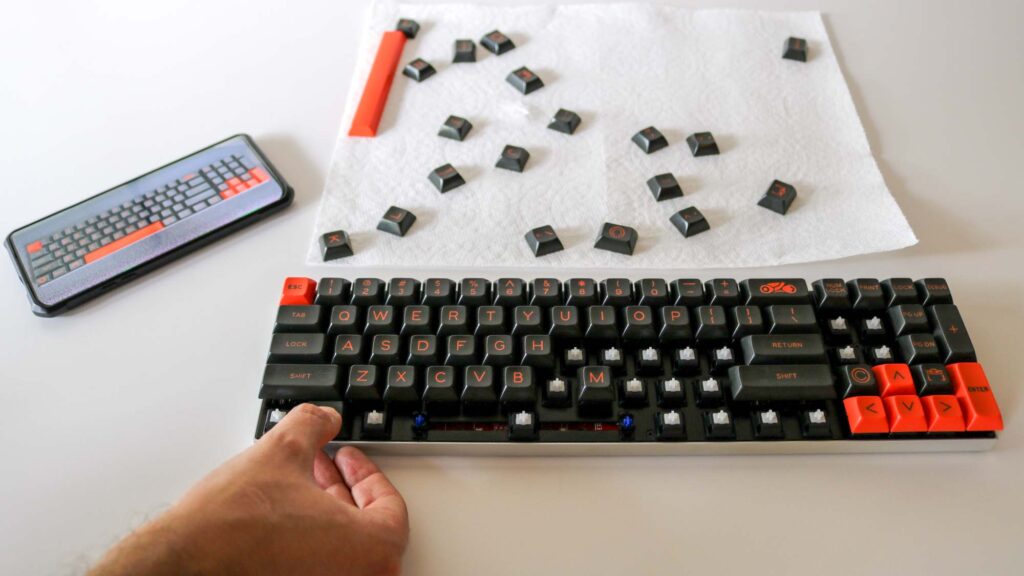
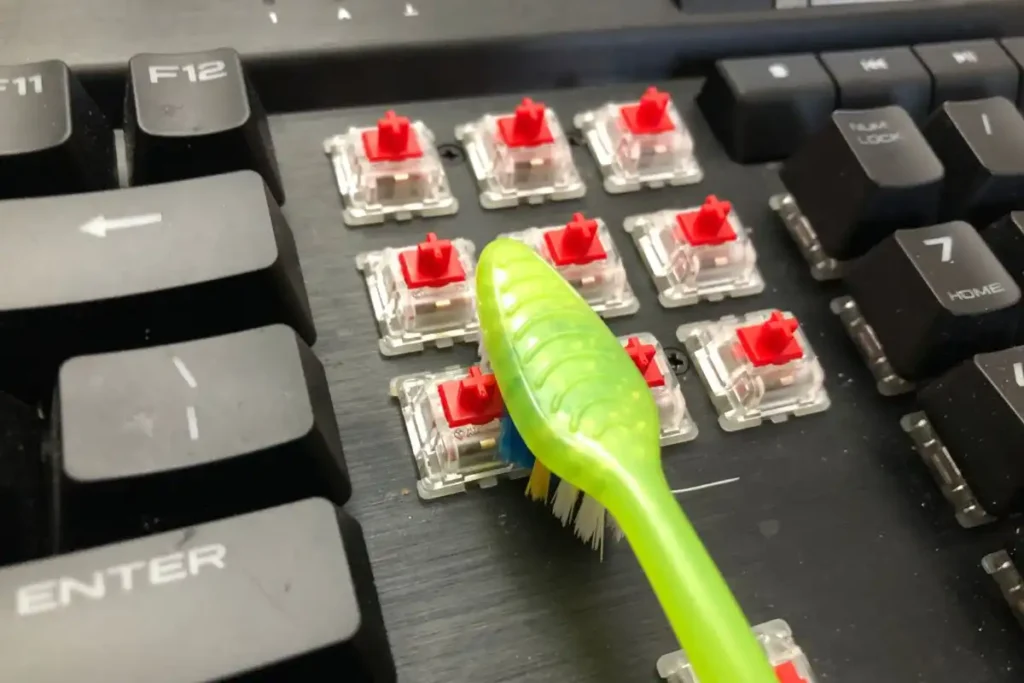
Remove Keycaps for a Deep Clean 🛠️
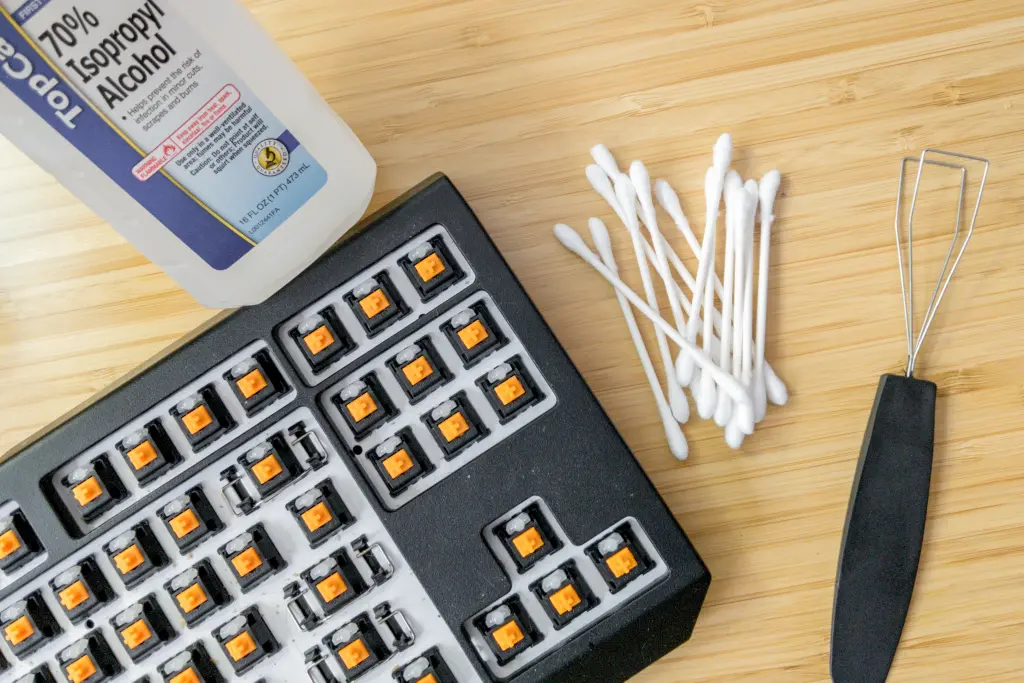
If your keyboard still looks grimy after brushing and wiping, it’s time to go full detail mode.
First, grab a keycap puller (most mechanical keyboards come with one). Gently pop off the keycaps — start with a corner and work your way in. Toss them into a bowl of warm, soapy water and let them soak for about 15–20 minutes. Rinse and dry completely before reattaching. Seriously, no shortcuts here — moisture + switches = disaster.
While the caps are drying, use a brush or cotton swab to clean the now-exposed base. This step takes a little longer, but it’s the only way to restore that fresh-out-the-box feel.
Don’t Forget the Cable & Port 🔌
You’ve cleaned the keys, the caps, and even the gunk between them — but what about the cable?
Give your keyboard’s USB cable a quick wipe-down with a dry or lightly damp cloth. Cables love collecting grime, especially near the plug. If your board is wireless, check the charging port too.
Also, inspect the USB port on your PC. A puff of compressed air can help clear out any hidden dust that might mess with your connection. A clean cable and port mean fewer random disconnects mid-match — and one less thing to blame when you miss a clutch play.
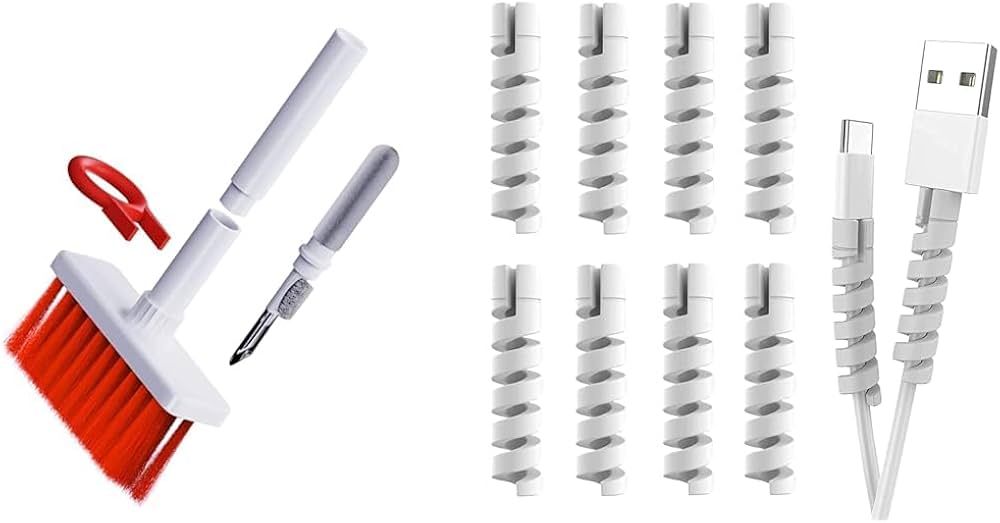
Good cable management can also ensure that parts and cables aren’t all over the place!
Conclusion
Let’s be real — your keyboard puts in work. Whether it’s late-night raids or sweaty ranked matches, it deserves more than a once-a-year wipe.
With just a few easy steps — from a quick shake to a deep clean — you can keep your keyboard looking fresh, feeling responsive, and lasting longer. You don’t need fancy tools or hours of free time. Just a bit of effort (and maybe some compressed air magic).
So go ahead — give your keyboard the love it deserves.